It’s one of the most common hiking problems out there, but it’s also one of the easiest to prevent. Blisters are most commonly caused by moisture between your foot and your sock or boot, so keeping your feet dry is the best way to keep them blister-free during hikes. Here are some tips to keep your feet dry on the trail, no matter what season you’re hiking in or terrain you’re covering.
What’s a blister?
It’s a bubble that develops on your skin as a result of burning, extreme cold, friction, or any other damage. The bubble is filled with a serum that pours out when you prick it. Duringhiking, the major cause of blisters is friction. The constant friction between the shoe/sock with your feet develops blisters on your skin
Sometimes, the cause is a tight or loose shoe that provokesfriction. And if your feet are sweaty, it’s even worse. But no matter the cause, they hurt so badly to a point of stopping you from walking anymore.
How to Prevent Blisters While Hiking

• Wear proper hiking shoes
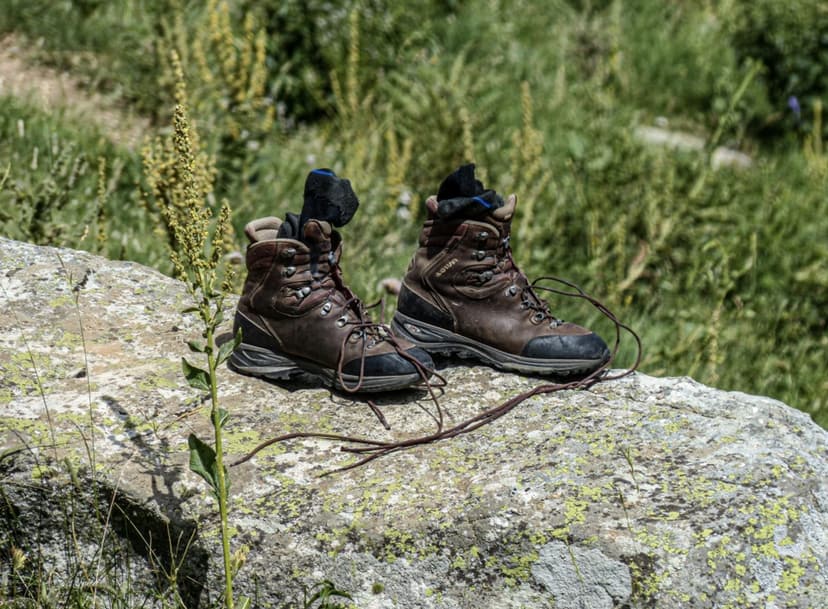
The right footwear for hiking is crucial if you want to prevent blisters from developing while hiking. It reduces the chances of frictions which is a major cause of blisters. Plus you can keep off debris from your shoes if they fit perfectly around your leg. Therefore, choose a hiking boot that covers your ankle, fits perfectly, and is not too soft for extra support.
• Prevent sweaty feet
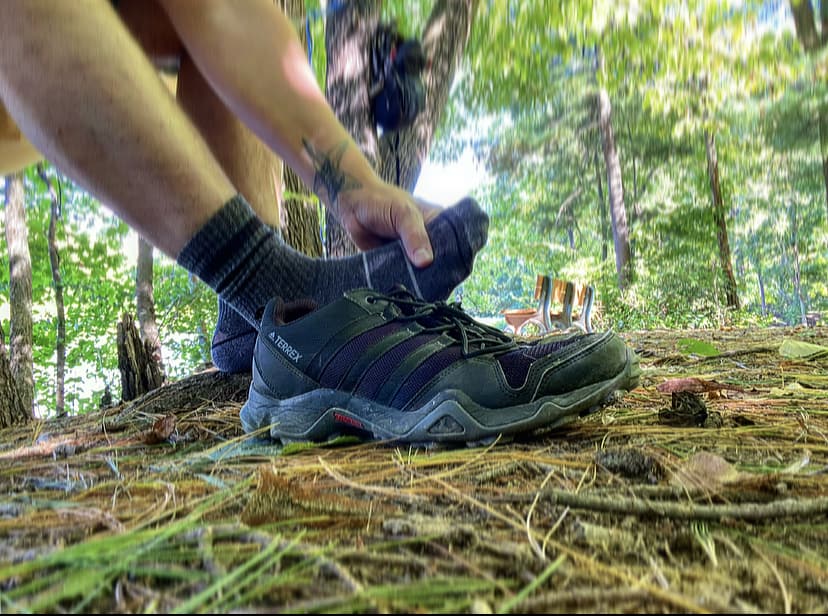
A sweaty foot is another potential cause of blisters. Luckily, with the right footwear, you can prevent this. First, wear sweat-wicking hiking socks. But that’s not all; you need to swap them at least once a day with a fresh pair if able.
Thereafter, if you are backpacking, air-dry the damp socks by attaching them to the back of your pack. Meanwhile, don’t wear cotton socks; they tend to hold instead of wick moisture. So instead of preventing blisters, you will be developing them.
Read More on… The Best Socks For Backand Hiking
• Care for your feet and shoes
Take some rest during your hiking venture. Stop for a few moments and massage your feet. Also, give them time to breathe, and relax. Meanwhile, shake your shoes upside down to dislodge any debris. Examine the interior wall to ensure, no dirt or rock is left behind.
• Break in your shoes
The feeling of wearing new gear during the hike is captivating. However, don’t try this with your new hiking boots. You will provoke painful blisters on your feet. Therefore, take your new footwear for a walk around your home or park to break them for a couple weeks. With boots it could take months to break them in completely. This will soften the shoes and enable your feet to adapt to them.
• Cool your feet in the river
When you begin to feel sore feet, it’s a sign that you are about to get blisters. Therefore, if you can, find a water source, probably a river nearby, and head there. Remove your shoe and socks and dip your feet in the cool water. It will soothe the sore feet and relax them. Also, use this opportunity to clean them up. Feet full of soil or dirt have high friction. Also, if you have blisters, the dirt can infect them.
• Crop toenails
The blisters don’t just form behind your feet but also at the front of your toes. To curb the pressure that forces your toe to rub against the shoes, crop the toenails. By doing so, you are creating more room for your toes to maneuver freely in the boot.
• Still Developing
When you feel soreness on your feet, stop immediately and take a sit down somewhere safe.
• Remove the shoes plus socks and examine the sore spot.
• If you discover the spot is reddish but the blister is nowhere, then it’s still developing.
• Using duct tape, wrap the hot spot to prevent further development of the blisters by reducing friction. To wrap properly, focus on the affected area and avoid stressing the whole foot with tape. So, if it’s on the toe, wrap the toes only, if it’s the back of your feet, do the same.
• However, if the sore spot is raw, red, and mildly swollen, use antibiotic ointment before wrapping it. Meanwhile, you should use an adhesive blister bandage instead of duct tape to curb infection. Other great options are moleskin and leukotape.
• Thereafter, use the duct tape to reinforce the adhesive bandage and reduce friction.
• Lastly, don’t tamper with it until you are home. And on the hiking trail, changing the tape or bandage will aggravate the sore spot further. So, avoid doing this.
• Fully Formed
You need a different approach to a fully formed blister.
• Start by finding a good place to rest• Remove the shoe and socks and then examine the blister.• If it’s a ball, clean up the affected zone with an antiseptic wipe, alcohol, or water and soap.
• Take out your knife or a pin and sterilize it with a flame, boiling water, or alcohol.
• Using either of them, prick the blister from its base, thereafter, massage gently to force out the fluid. • Once it’s flat and empty, use an antibiotic ointment over the wound to prevent infections.
• Then cut a donut shape out of moleskin to surround the blister. Thereafter, use moleskin over the first one to cover the whole blister.
• Afterward, use duct tape or leukotape to secure the whole area and prevent further aggravation of the blister.
To those who haven’t got blisters, employ those prevention techniques to keep your feet safe. If it’s too late and you have developed blisters, then try the treatment techniques above to reduce the pain and infection.
Thus, activities like listening to music, singing along the trail,or focusing on happy thoughts will numb the pain momentarily. And never lack on the prevention and treatment techniques. Keep your feet clean, sweat-free to reduce further infection on the blister.
